Print Design Tools I Use
I use open source tools like Scribus, GIMP, and Krita to create professional print files. This page introduces my favorite tools and a solid alternative to Adobe’s subscription model.

A Word on Adobe…
The Adobe Suite has long been the industry standard for design work — and for good reason. It's powerful, well-integrated, and widely used in professional printing.
But when Adobe switched to a subscription-only model, it became unsustainable for small-scale or occasional freelancers. Many of us only need these tools a few times per month — not enough to justify a monthly bill.
That’s why I’ve transitioned to open source and one-time-purchase alternatives. They take a little getting used to, but once you know your way around, they get the job done beautifully.
My Toolkit
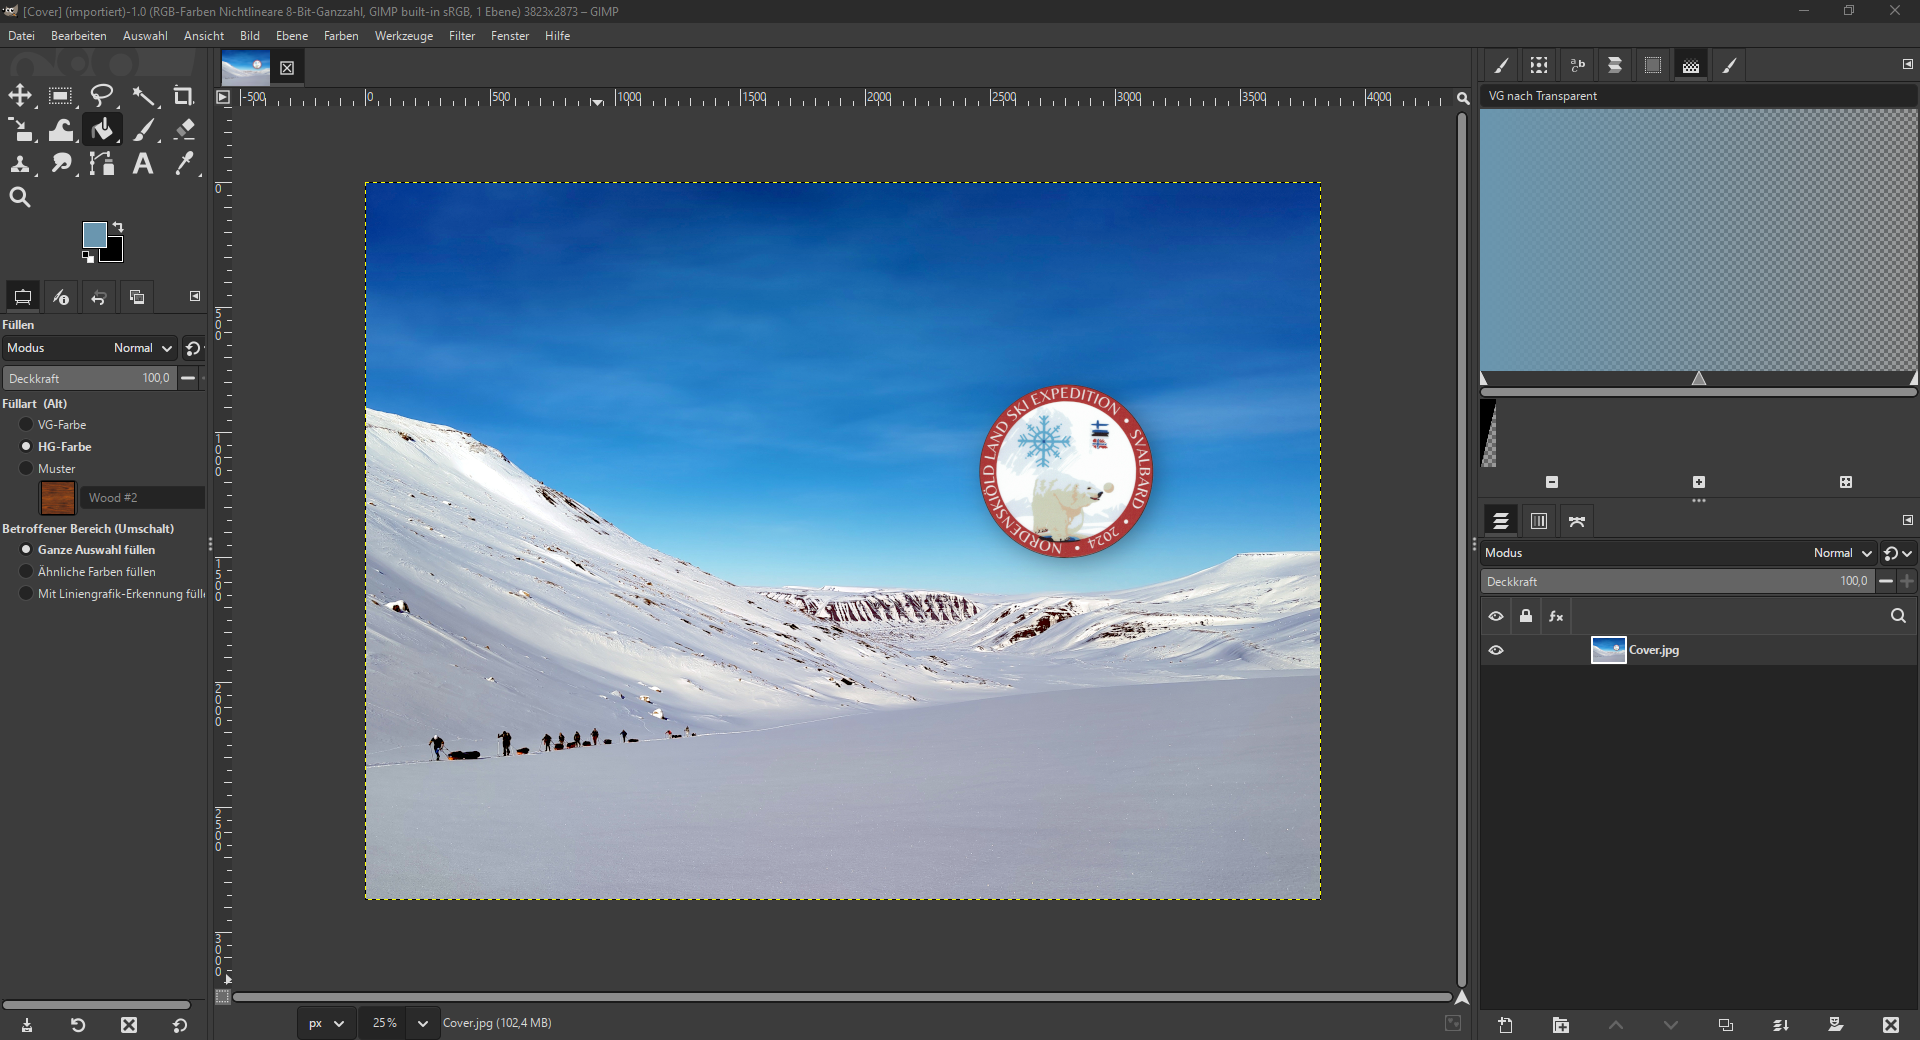
GIMP – for image editing
I use GIMP mostly for color correction, cropping, and preparing images before placing them into layout files. It’s a bit quirky, but powerful once you get the hang of it.
Get it here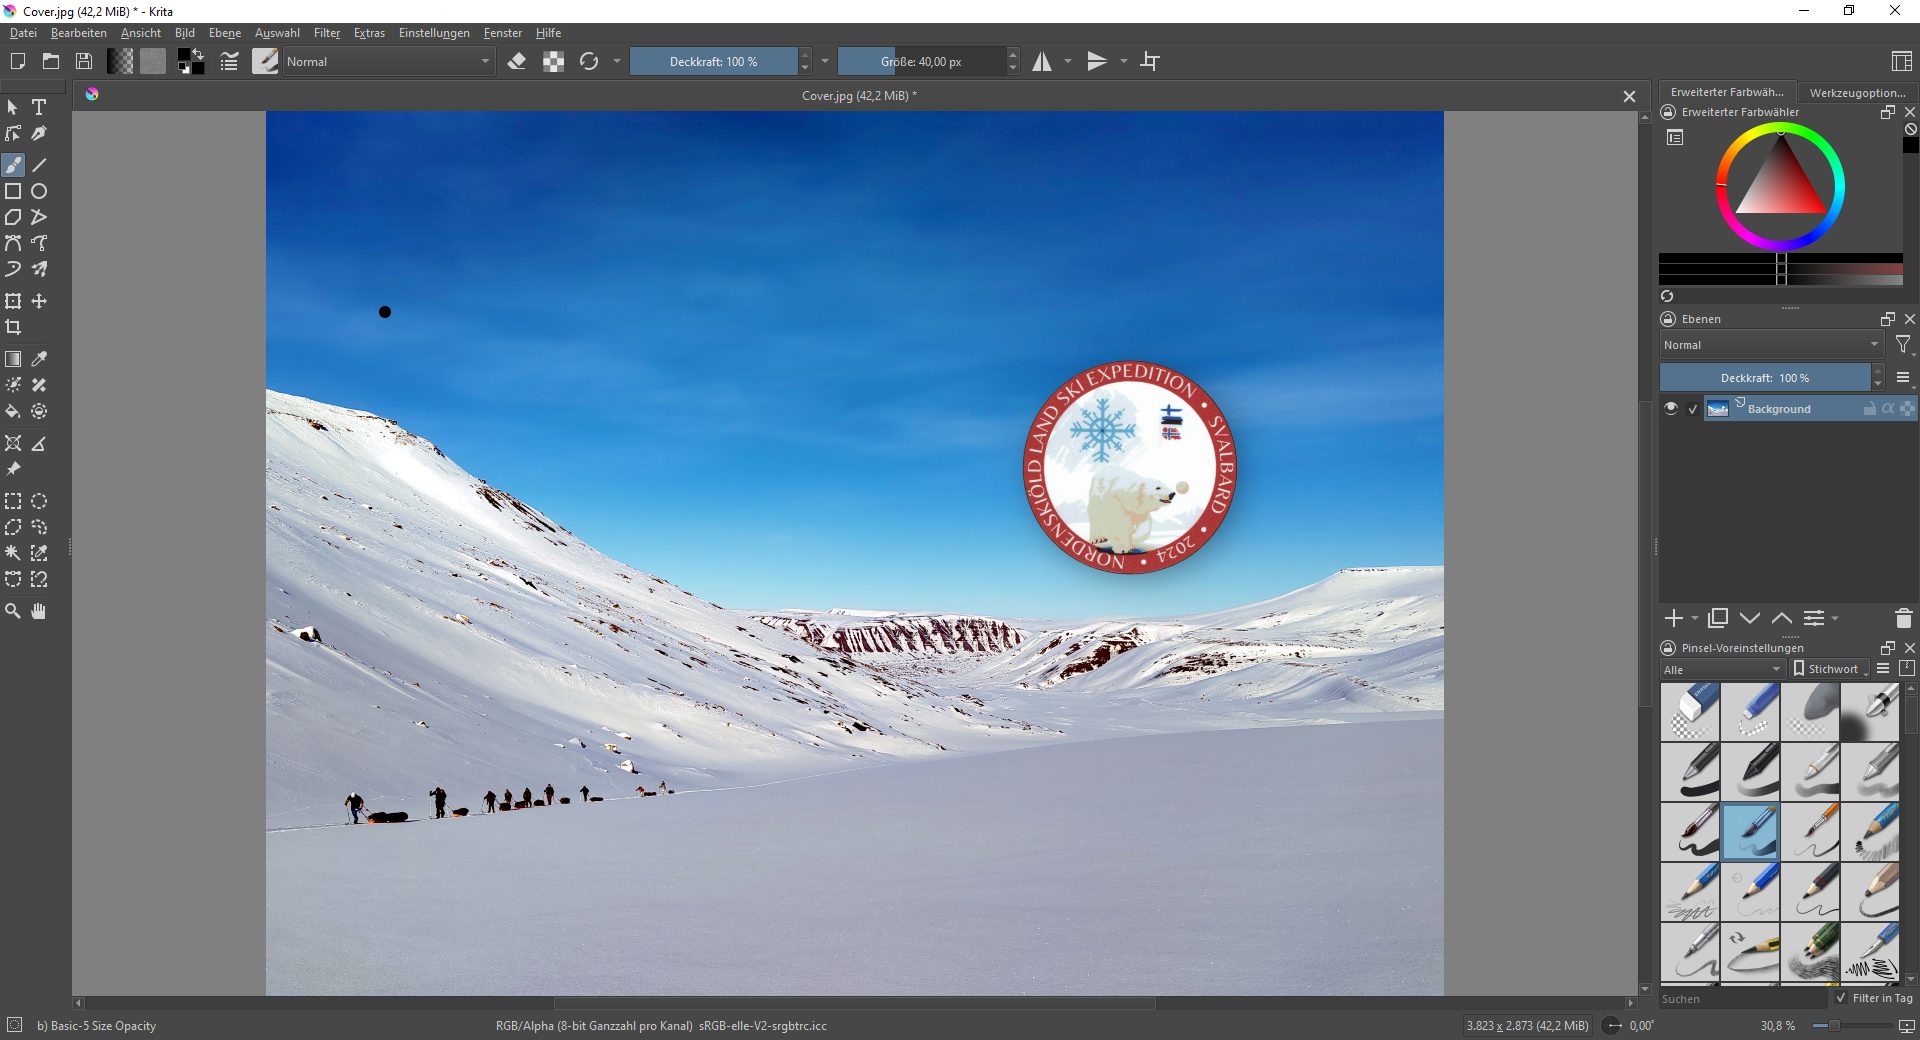
Krita – for RGB to CMYK conversion
While GIMP doesn’t handle CMYK natively, Krita does. I use it to convert RGB images to CMYK with the correct ICC profile for print.
Get it here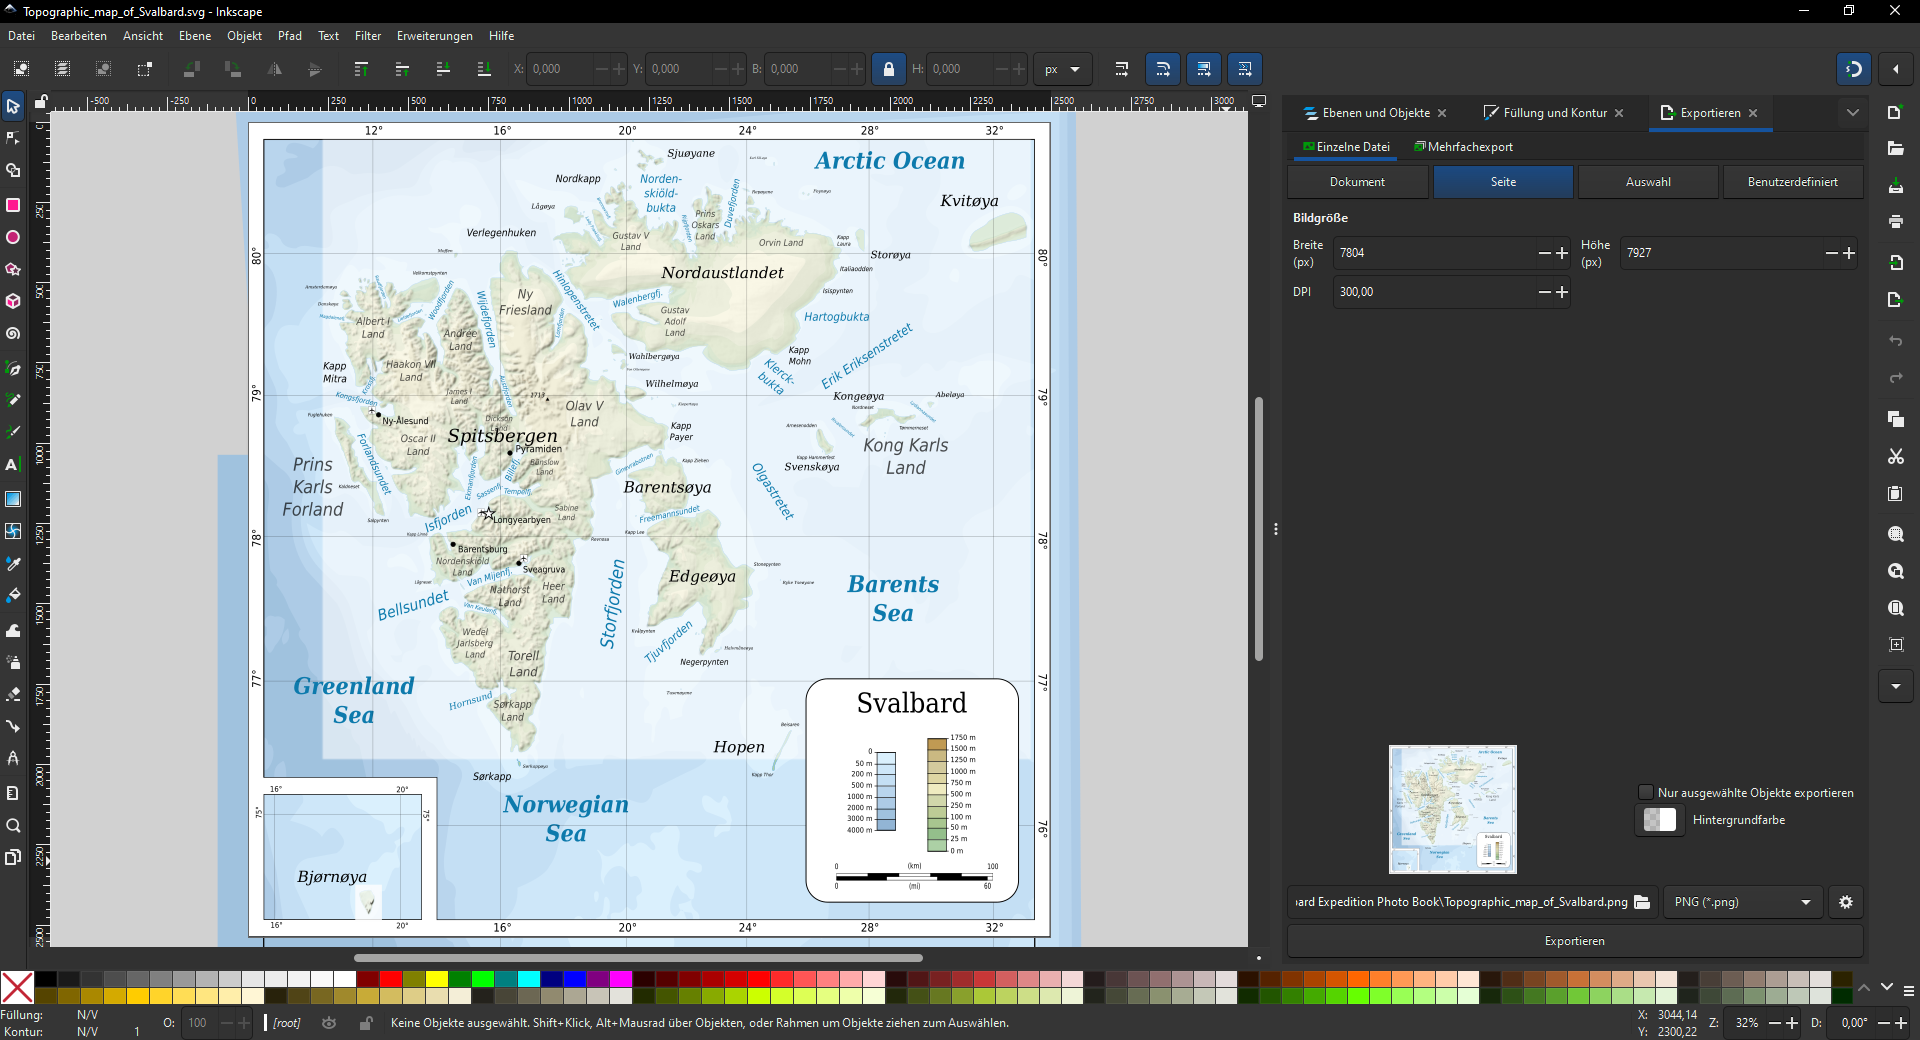
Inkscape – for vector graphics
When I need to tweak or build vector illustrations, logos, or SVGs, Inkscape is the go-to tool. It’s especially useful for combining text and shapes.
Get it here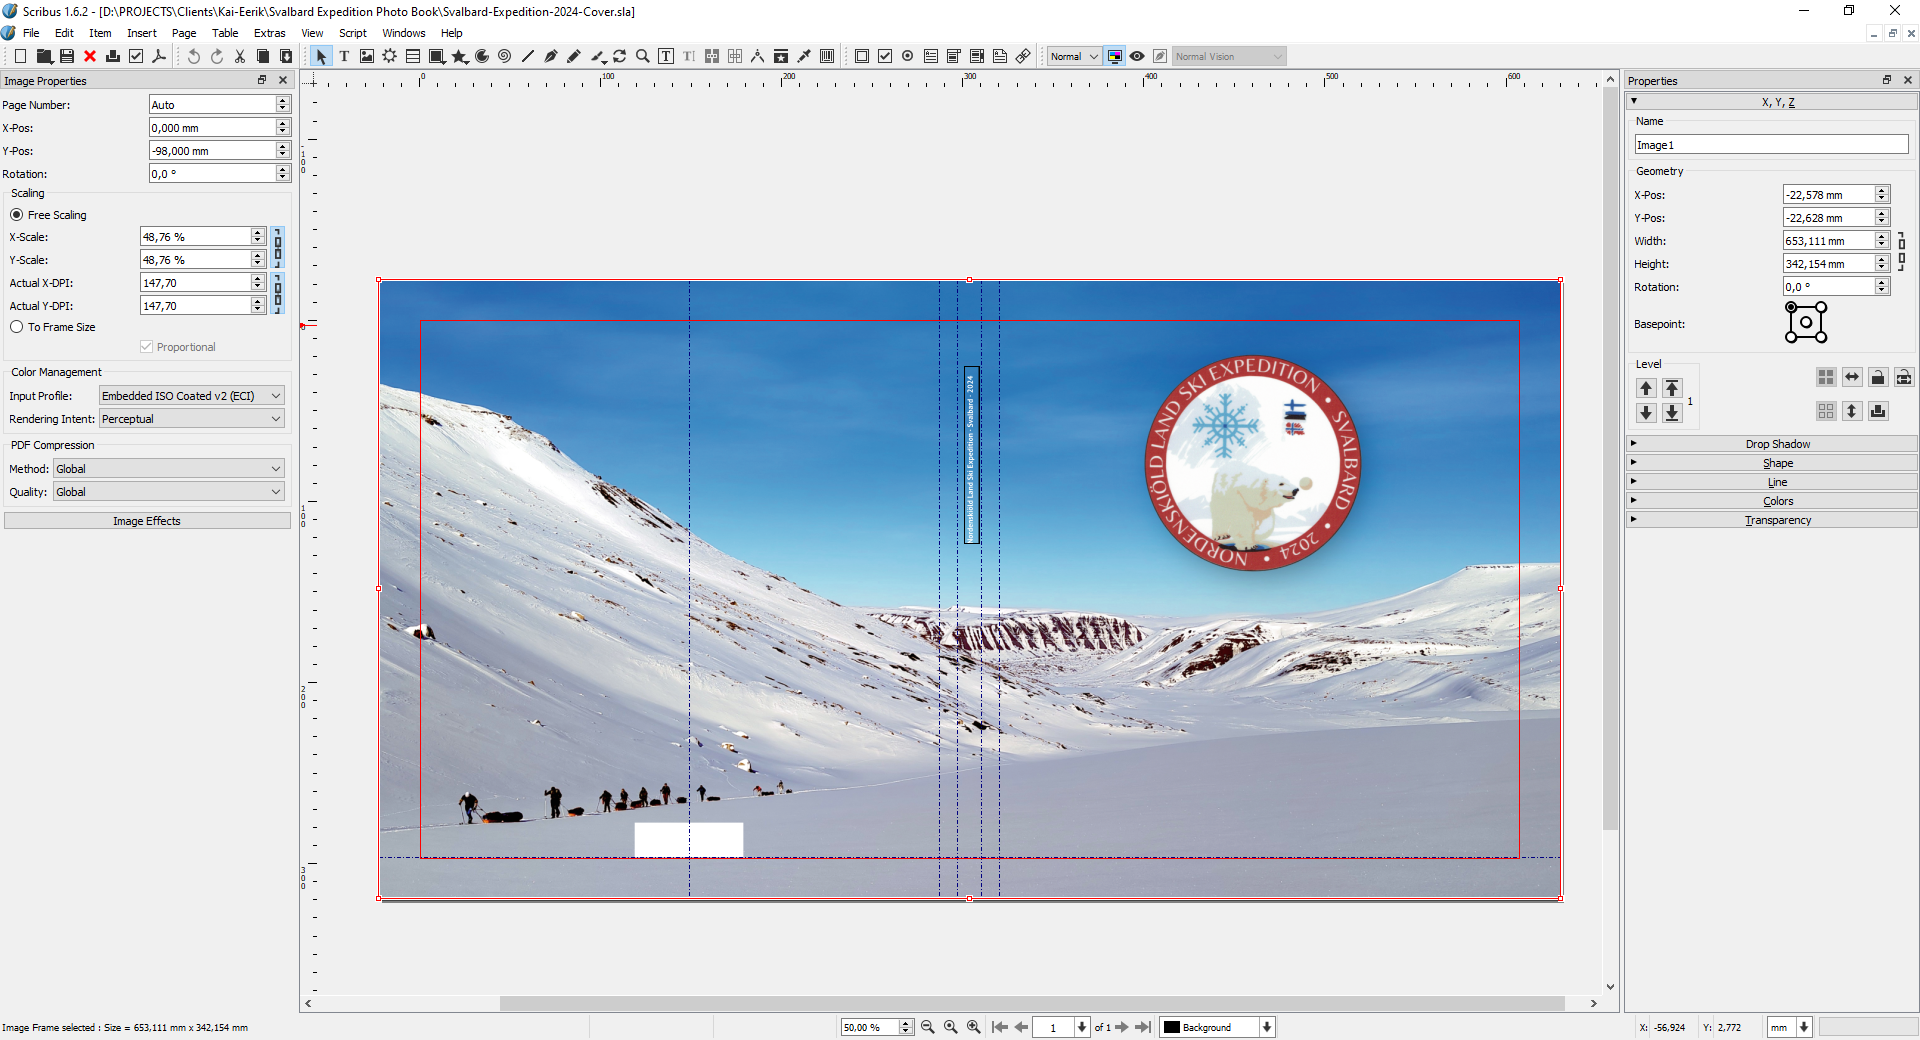
Scribus – my main layout tool
This is where the magic happens. Scribus is a professional-grade desktop publishing tool that lets me create print-ready PDFs with embedded color profiles, bleed, and crop marks. It takes some setup — but gives full control.
Get it here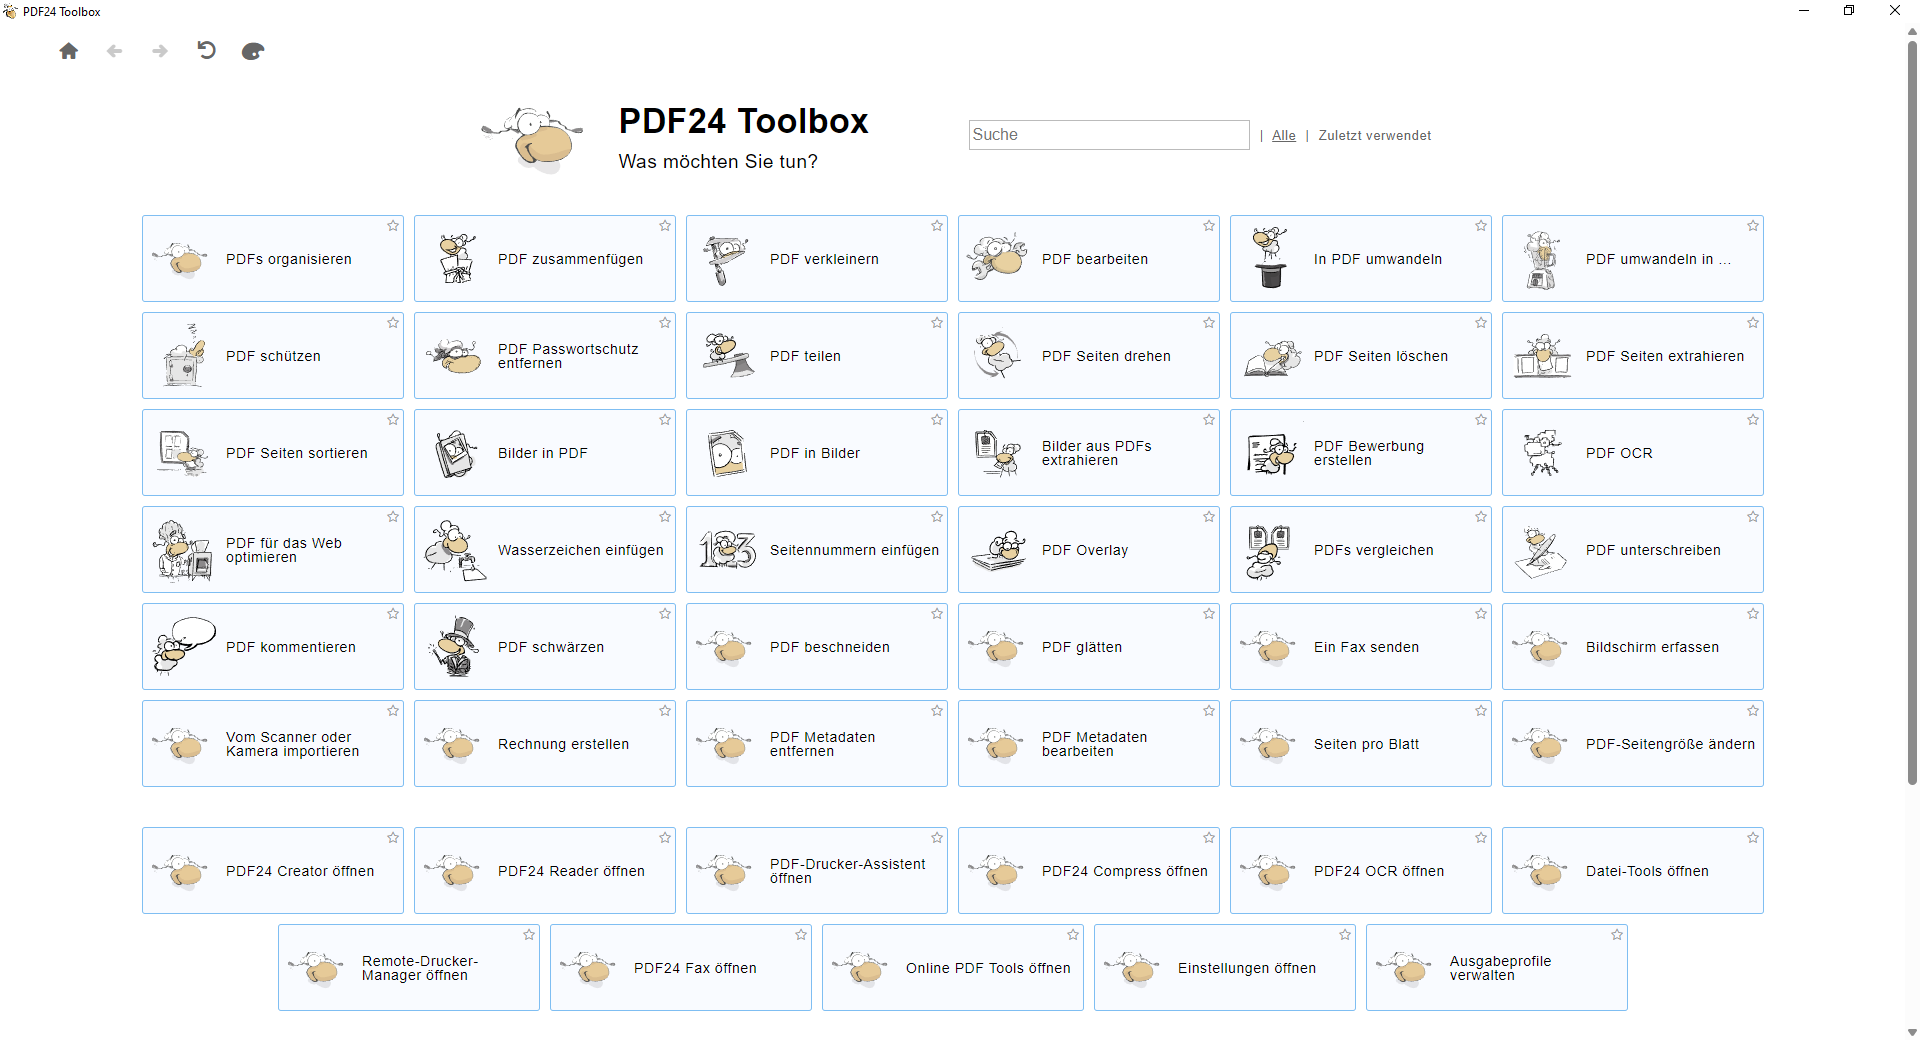
PDF24 – for final tweaks
For splitting, merging, or quickly adjusting existing PDF files, I use PDF24. It’s a lightweight utility that handles common PDF tasks with zero fuss.
Get it herePaid Tools: Affinity Suite
If you’re looking for a more polished and professional alternative to Adobe, I recommend checking out the Affinity Suite.
- Affinity Photo (like Photoshop)
- Affinity Designer (like Illustrator)
- Affinity Publisher (like InDesign)
All of them are available for a one-time purchase, no subscription. That makes them an attractive option for freelancers or small studios who want a sleek, integrated suite with a clean UI.
Get it hereThe Most Overlooked Tools: Pen, Paper, Scissors, and Glue
Not all great design happens on a screen.
When I’m working on something like a book layout or folded brochure, I often turn to the most reliable tools I know: pen, paper, scissors, glue, and a printer.
For example, if I’m designing a book cover, I’ll grab an old book from my shelf that has similar dimensions. I’ll print my draft cover, cut it out, and tape it around the book with masking tape. That mockup gives me a real-world feel for how the design flows — where the spine folds, how big the margins feel, what happens to the title when it wraps around an edge.
The screen is often deceiving, especially when it comes to:
- Bleeds and cut lines
- Margins
- Font sizes
- Color tones
Making a quick physical mockup can reveal issues you won’t notice on your monitor. It’s not fancy — but it’s one of the most powerful tools I use. So don’t hesitate to go low-tech. Your scissors might just save the project.
About My How-To Guides
In my tutorials, I focus primarily on Scribus — because it’s the most essential tool for creating professional, print-ready files. It’s open source, free to use, and gives you full control over things like bleed, crop marks, embedded fonts, and CMYK color profiles.
That said, Scribus can be a bit technical at first. It takes some getting used to, especially if you’re new to layout software. But that’s exactly why I’m writing these guides — to help you get comfortable step by step.
Once you’ve learned the basics, Scribus becomes a powerful ally in your print journey. You can always build on it by learning image editing (with GIMP or Krita), but Scribus sits at the center of print wizardry.
Current Print24 / Infowerk Discount Codes:
Since you’re here at Painomestari, diving into the world of better print design, here’s a little something to say thanks. Use these discount codes to save 5% on your next print project. When you have your print file ready, go with the print24 professional shop. When you want an easy way to design your print product, choose the Infowerk online design tool. Just enter those codes in the coupon field during checkout! You're welcome!
Print24 Professional Shop Code
Copy & use this code to get 5% off your first order.
Infowerk Online Designer Code
Copy & use this code to get 5% off your first order.
PS: Want 10% off? Join the Print Circle for free — the exclusive codes are just for subscribers.